
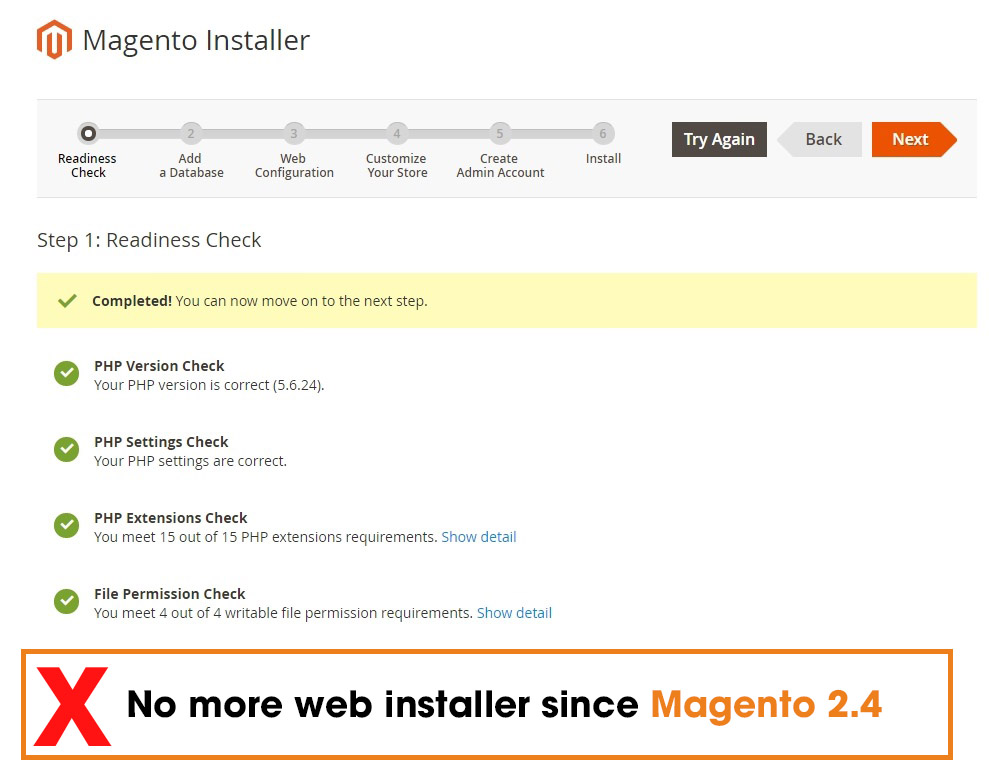
From Magento 2.4, the web install wizard is disabled. All installation steps must be done using command interface, thus things become harder for new users who are not familiar with command lines
In the previous tutorial, we had learned how to install Magento 2.4 on Xampp Localhost on Windows 10. Today, we will go through the steps to install Magento 2.4 with Elasticsearch on live server running on Ubuntu OS (16.04 or 18.04).
Contents
Prerequisites
Make sure you are installing Magento 2.4 on a server/VPS that meets Magento 2 system requirements. Below are my recommended server specifications:
- At least 2GB ram (4GB is recommended for better performance with Elasticsearch)
- 3 cores CPU should be OK for small to medium-sized business (You can use this formula to calculate: Number of core = [Number of Expected Requests] / 2) + [Number of Expected Cron Processes]
- PHP memory: 2GB. (You can set this value in etc/php.ini file on your server).
Step 1: Install Apache, Mysql and PHP
To make it simple, in this tutorial, I will go with Apache as webserver, Mysql as database management. There will be other tutorials for Nginx and Mariadb.
Apache
First, we will install Apache web server. Connect to your server using ssh protocol with root access and run this command:
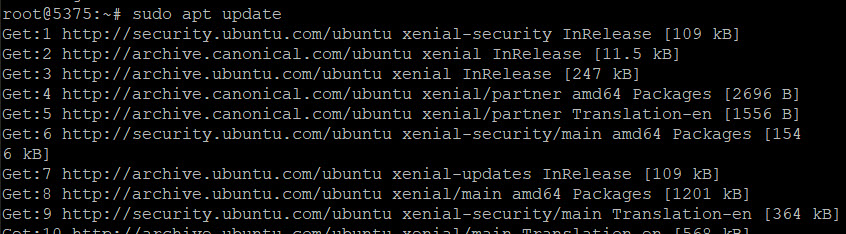
Updates the package lists in the repositories
sudo apt update
Sample output
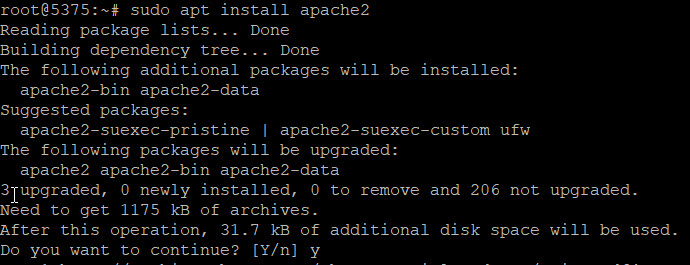
Install Apache2, the system will ask to coninue yes/no. Input “y” then enter to proceed
sudo apt install apache2
Sample output:
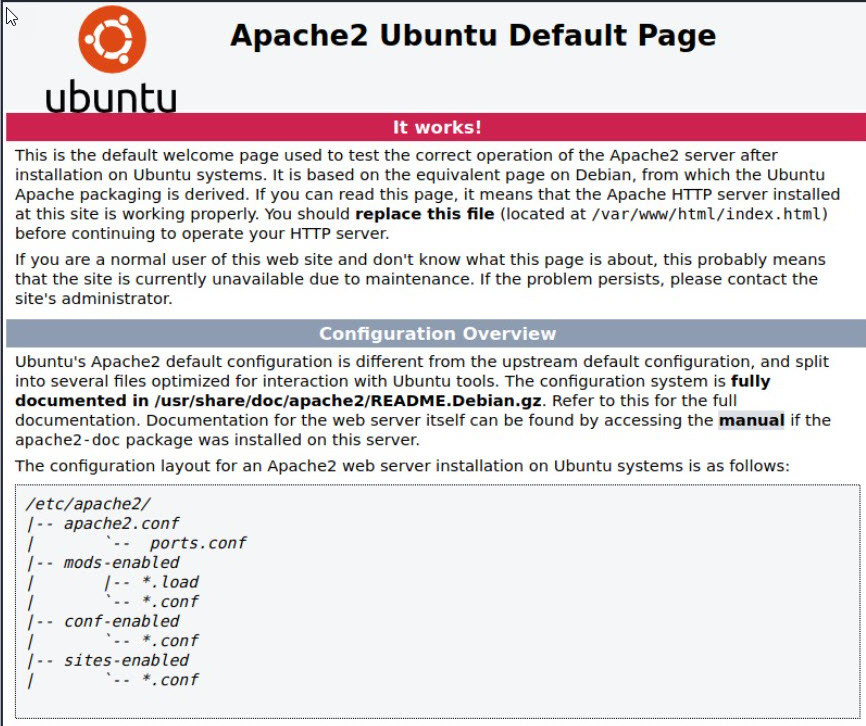
To verify if apache2 was install properly, in your browser, enter your domain or ip address. If the result is apache default page => everything is fine
To enable auto startup for apache, use this command:
systemctl is-enabled apache2
Apache will be automatically started everytime you reboot your server.
Mysql
Next, we will install Database management system for our ubuntu server.
In your ssh client, use this command to install Mysql
sudo apt install mysql-server
Sample output:
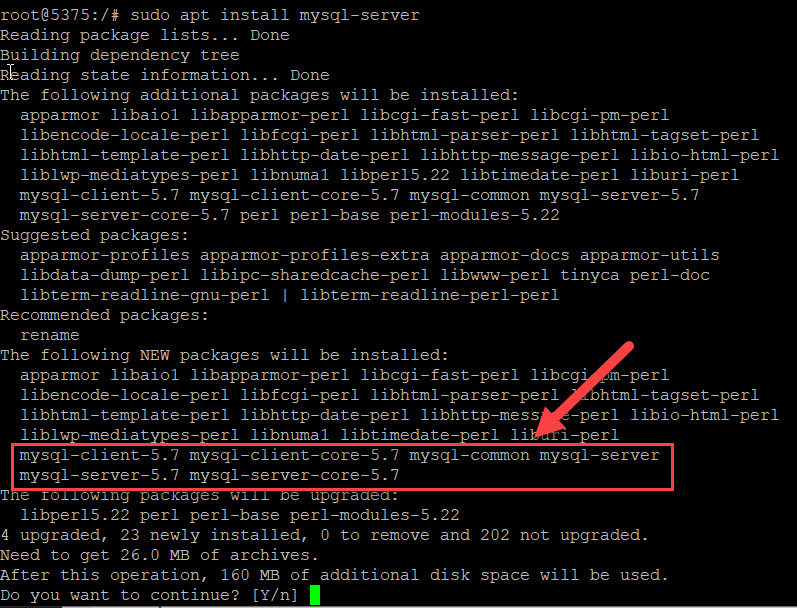
In the description, you can see the mysql version is 5.7.
From Magento 2.4, MYSQL 8.0 is recommended, so we will change Mysql version to 8.0 (this step is optional as I have tested Mysql 5.7 and it works seamlessly with Magento 2.4)
Use this command to get MYSQL 8.0 repositories
wget -c https://dev.mysql.com/get/mysql-apt-config_0.8.11-1_all.deb
Next, install and enable MySQL 8.0 with the command:
sudo dpkg -i mysql-apt-config_0.8.11-1_all.deb
In package configuration screen, select Mysql 8 and choose Mysql server & Cluster
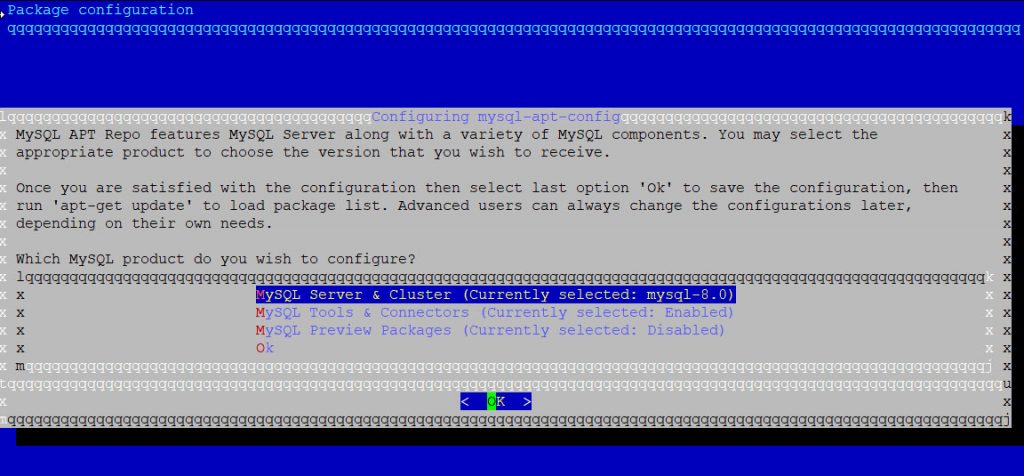
Now select OK and execute this command to start installing Mysql
sudo apt-get install mysql-server
Press Y to proceed and set Mysql root password when prompted. Root password grant access to your whole database, so try to set it secured.
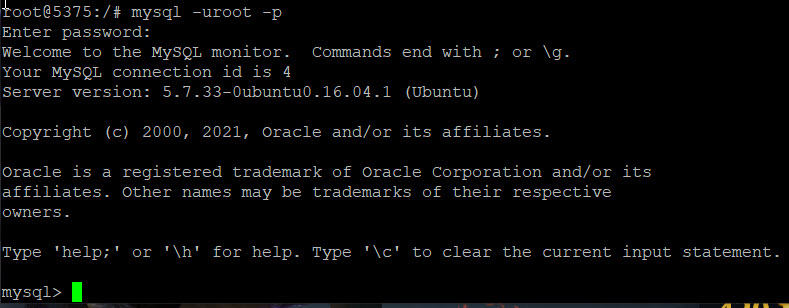
Now we will test if mysql is installed properly by running this command:
mysql -u root -p
Next, enter root password. If you see this screen => Mysql was installed properly
Now we will create a user and a database for our new Magento 2.4 website.
After logged into mysql, run these command
Create a new database named: magento2
CREATE DATABASE magento2;
Create a new user: magentip with password = yourpassword
CREATE USER 'magentip'@'localhost' IDENTIFIED BY 'yourpassword';
Change the authentication of a database magentip
ALTER USER 'magentip'@'localhost' IDENTIFIED WITH mysql_native_password BY 'yourpassword';
Grant PRIVILEGES to magentip
GRANT ALL PRIVILEGES ON *.* TO 'magentip'@'localhost' WITH GRANT OPTION;
Php
In this step, we will install PHP.
Magento 2.4 require PHP 7.4, so we will install php 7.4 in this tutorial.
Run this line to install php 7.4:
sudo apt install php7.4 libapache2-mod-php php-mysql
Also, this line to install all the required php extensions required to run Magento 2.4
yum -y install php74u-pdo php74u-mysqlnd php74u-opcache php74u-xml php74u-gd php74u-devel php74u-mysql php74u-intl php74u-mbstring php74u-bcmath php74u-json php74u-iconv php74u-soap
Note: If you see the following error while install php
E: Unable to locate package php7.4
E: Couldn't find any package by glob 'php7.4'
E: Couldn't find any package by regex 'php7.4'
Run these line in advance to update repositories
sudo apt-get install software-properties-common
sudo add-apt-repository ppa:ondrej/php
sudo apt-get update
Next, re-run php installation command and it will work properly
To check php version after installation, use this command
php -v
Sample output:

Step 2: Install and configure Elasticsearch
In this step, we will install Elasticsearch – a required component since Magento 2.4.
From Magento 2.4, catalog search will no longer use mysql, instead the system will use Elasticsearch by default.
Install Elasticsearch
First, we will install Openjdk11 (Java) as Elasticsearch runs on Java
apt-get install -y openjdk-8-jdk
Next, verify if the java was installed properly and check its version with this syntax
java -version

Now we can start installing Elasticsearch
curl -fsSL https://artifacts.elastic.co/GPG-KEY-elasticsearch | sudo apt-key add -
Add Elastic-7.x.list to sources.list.d folder.
echo "deb https://artifacts.elastic.co/packages/7.x/apt stable main" | sudo tee -a /etc/apt/sources.list.d/elastic-7.x.list
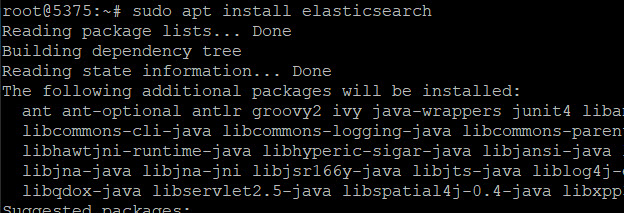
Finally, install Elasticsearch:
sudo apt install elasticsearch
Configure Elasticsearch
Now we will configure elasticsearch to make it works on ubuntu
First, add port 8080 to apache listen port file located in: /etc/apache2/ports.conf
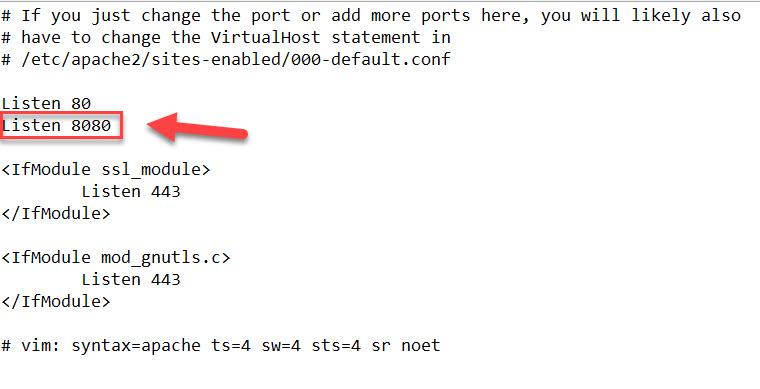
Next, create a virtual host file for elasticsearch mydomainelasticsearch.conf in /etc/apache2/sites-available/. The content for this file should be:
<VirtualHost *:8080>
    ProxyPass "/" "http://localhost:9200/"
    ProxyPassReverse "/" "http://localhost:9200/"
</VirtualHost>
Save file and run this command to enable the newly created elasticsearch virtual host file
sudo a2ensite mydomainelasticsearch
Restart apache to apply changes:
sudo service apache2 restart
Now start elasticsearch service to test if it’s working properly
sudo systemctl start elasticsearch
Run this line to verify if elasticsearch is working properly
curl -X GET 'http://localhost:9200'
If elasticsearch is working properly, the result should be like this
{
  "name" : "Magentip",
  "cluster_name" : "elasticsearch",
  "cluster_uuid" : "lwRtnBr-RcO3v3VR0Qh1XQ",
  "version" : {
    "number" : "7.10.0",
    "build_flavor" : "default",
    "build_type" : "zip",
    "build_hash" : "51e9d6f22758d0374a0f3f5c6e8f3a7997850f96",
    "build_date" : "2020-11-09T21:30:33.964949Z",
    "build_snapshot" : false,
    "lucene_version" : "8.7.0",
    "minimum_wire_compatibility_version" : "6.8.0",
    "minimum_index_compatibility_version" : "6.0.0-beta1"
  },
  "tagline" : "You Know, for Search"
}
Now we have finished installing the required component of Magento 2.4 – Elasticsearch. In the next step we will begin install Magento 2.4 to our server
Step 3: Download Magento 2.4.1
In this tutorial, we will install Magento 2.4 using composer.
First, run this command to download composer installer
curl -sS https://getcomposer.org/installer -o composer-setup.php
Next, install composer 1.10.16 using this command
sudo php composer-setup.php --install-dir=/usr/local/bin --filename=composer --version=1.10.16

Important note: Magento 2.4 does not support Composer 2, so we will install composer 1.10.16
If you see this error during installation:
- Root composer.json requires magento/composer-root-update-plugin ~1.0 -> satisfiable by magento/composer-root-update-plugin[1.0.0].
- magento/composer-root-update-plugin 1.0.0 requires composer-plugin-api ^1.0 -> found composer-plugin-api[2.0.0] but it does not match the constraint.
That means you need to downgrade composer 2 to composer 1 to continue the installation. Run this command to downgrade composer 2 to composer 1 if you installed composer 2 by mistake:
composer selfupdate --1
composer
If you see this screen => Composer 1.10.16 was installed properly

Now we are ready to download Magento 2.4 using composer. Create an account on Magento marketplace and go to https://marketplace.magento.com/customer/accessKeys/ to get private and public access key, which will be prompted in the next step

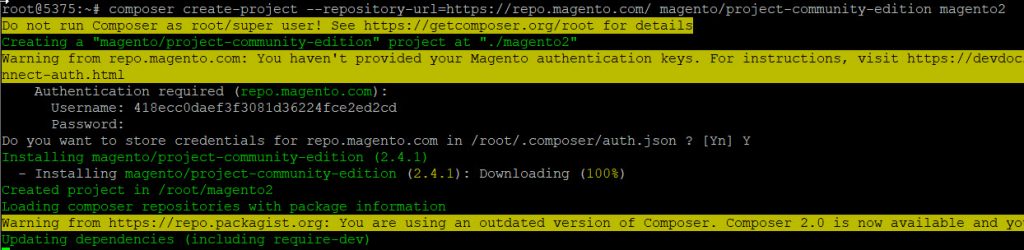
Run this command to download Magento 2.4 data
composer create-project --repository-url=https://repo.magento.com/ magento/project-community-edition magento2
Now enter Username and password to start downloading
- Username: Your public Key
- Password: Your private key.
If you are too lazy to get accesskey from marketplace, use my premade keys for your convience
- Public Key: 418ecc0daef3f3081d36224fce2ed2cd
- Private Key: d4b572998c3cad1beed8a4f0d3f9fa84
You will see this screen if everything is fine. Now just wait some minutes, composer is download Magento 2 to your server
Note: You may see this error when download Magento 2.4 via composer
- magento/product-community-edition 2.4.1 requires ext-bcmath * -> the requested PHP extension bcmath is missing from your system.
Problem 2
- phpunit/phpunit 9.5.2 requires ext-dom * -> the requested PHP extension dom is missing from your system.
- magento/product-community-edition 2.4.1 requires ext-pdo_mysql * -> the requested PHP extension pdo_mysql is missing from your system.
The error message indicates that your server are missing bcmath and dom php extensions. We will resolve this by installing the missing extensions
apt-get install php7.4-{mysql,gd,curl,intl,bcmath,ctype,dom,iconv,mbstring,simplexml,soap,xsl,zip}
Restart apache2 to apply changes
service apache2 restart
Step 4: Set folders permission
Before installing Magento 2.4, we will set proper folder permission first.
Go the folder you want to install Magento 2, for example: /var/www/html/mywebsite.com
cd /var/www/html/mywebsite.com
Chmod cache and static content folder
find var generated vendor pub/static pub/media app/etc -type f -exec chmod g+w {} +
Change owner of website folder
sudo chown -R :www-data .
Change access permission of bin/magento folder
sudo chmod u+x bin/magento
Step 5: Install Magento 2.4.1
Everything is ready, now we will run the final command to install Magento 2.4
First, change the current directory to your website folder (this is also where you downloaded Magento 2 data in step 3)
cd /var/www/html/mywebsite.com
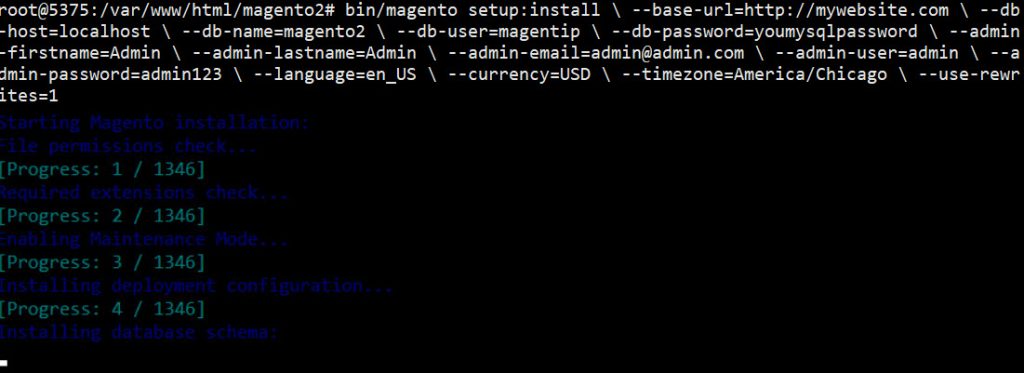
Run this command to start installing Magento 2.4
bin/magento setup:install \
--base-url=http://mywebsite.com \
--db-host=localhost \
--db-name=magento2 \
--db-user=magentip \
--db-password=youmysqlpassword \
--admin-firstname=Admin \
--admin-lastname=Admin \
--admin-email=admin@admin.com \
--admin-user=admin \
--admin-password=admin123 \
--language=en_US \
--currency=USD \
--timezone=America/Chicago \
--use-rewrites=1
Replace the following information with your information
--base-url : your domain, eg: mywebsite.com. You can change this base URL later if you make mistake. Read this tutorial to learn how to change base URL in Magento 2
--db-host : Database host, input localhost if you follow my tutorial
--db-name : name of the database we created in step 2
--db-user : name of the database user we created in step 2
--db-password : password of your mysql user
Now composer will start installing Magento 2.4. The process will take a while (approximately 20 minutes)
When everything is done you will see this
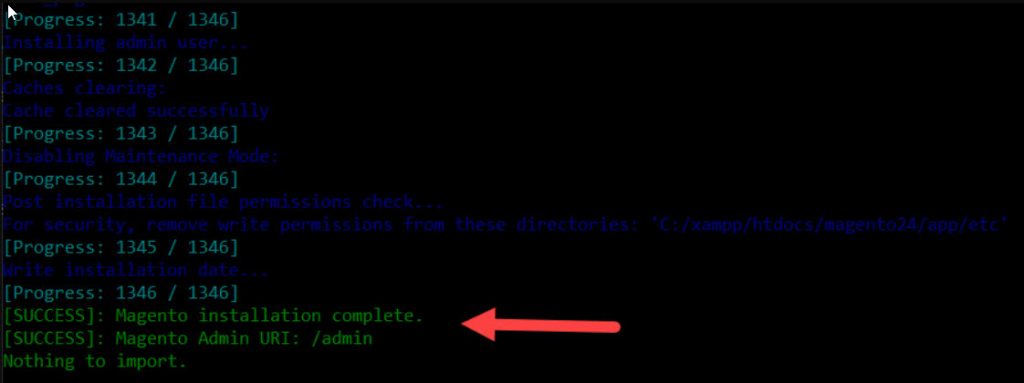
Congratulation, Magento 2.4 was successfully installed to your ubuntu server.
- Now you can access your store at this url: http://mywebsite.com
- Admin url: http://mywebsite.com/admin
If you see a blank page on your new website, don’t worry, read this tutorial to learn how to fix blank page in Magento 2.4
Troubleshoot admin login authentication error
You may see this error when you go to admin dashboard page
Failed to send the message. Please contact the administrator
You need to configure Two-Factor Authorization in order to proceed to your store's admin area
An E-mail was sent to you with further instructions
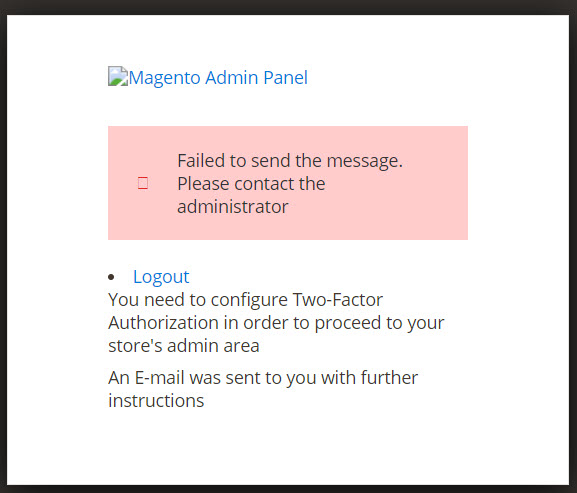
This error happened because since Magento 2.4, Two-Factor Authorization is enabled by default.
There are 2 ways to fix this:
- Method 1: Disable Two-Factor Authorization
- Method 2: Install and enable Two-Factor Authorization
Method 1:
If you don’t need Two-Factor Authorization, run this command to disable it
php bin/magento module:disable Magento_TwoFactorAuth
Sample output:

Now go to admin dashboard and the error should be fixed
Method 2
If you wish to use two-factor authorization, follow these step to enable this feature
First, run this command to force Magento 2.4 to use Google as the Two-factor authorization provider
bin/magento config:set twofactorauth/general/force_providers google
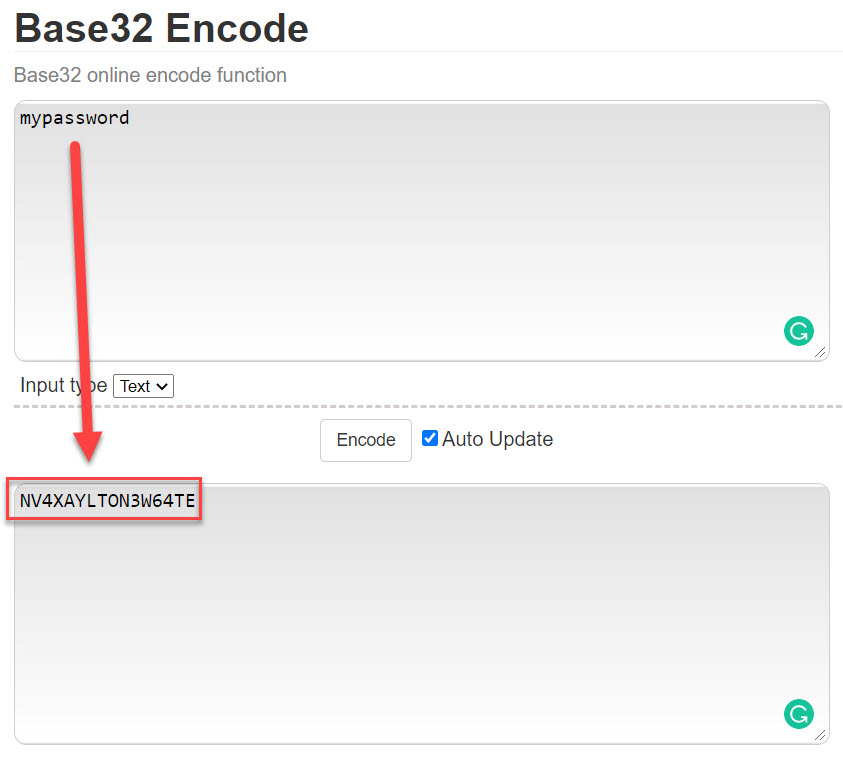
Next, generate a Base32-encoded string for the OTP secret key. You can use some online tool for this. For example: https://emn178.github.io/online-tools/base32_encode.html
Input a normal password like: mypassword and you will receive a Base32-encoded string like this: NV4XAYLTON3W64TE
Next, we will add the secret encoded OTP key to Google Authenticator with this command
bin/magento security:tfa:google:set-secret admin NV4XAYLTON3W64TE
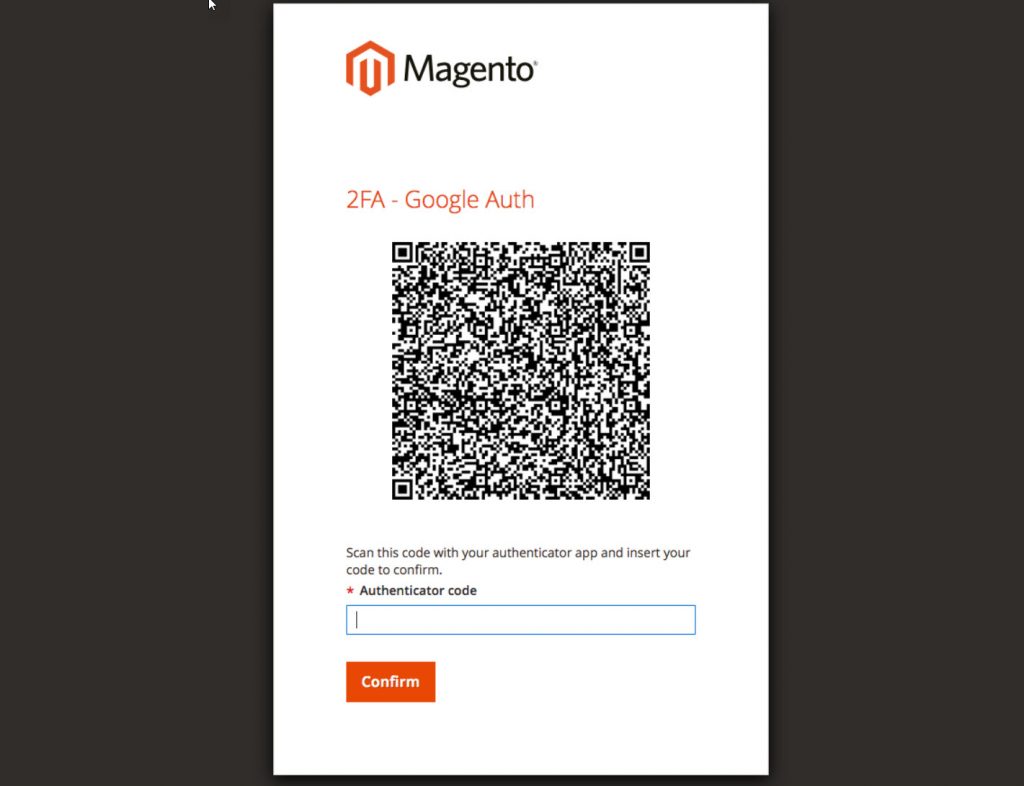
Now open Google Authenticator App on your mobile: https://play.google.com/store/apps/details?id=com.google.android.apps.authenticator2&hl=en&gl=US and add new key: NV4XAYLTON3W64TE
After you add the new key, you will see Authenticator code in your application once you login to Magento 2 dashboard
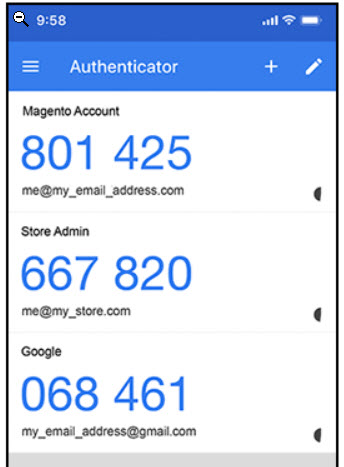
Enter the code you you receive in authenticator app to login to admin dashboard
Wrapping up
I hope this detailed step-by-step tutorial will be helpful for users who are having trouble installing Magento 2.4. If you face any problems during installation process, please drop a comment below (better with image describing your problem). I will be happy to help!
Good luck with Magento 2.4 installation on Ubuntu!
 with Elasticsearch")

")
42 Comments
Thanks for the tutorial, I didn’t know that I couldn’t install Magento 2.4 with Composer 1.
However, seems like from Magento 2.4.2, Composer 2 is supported.
Wow. Thanks for this guide. This my first attempt at installing a Magento 2 website. I have a problem that I can’t locate the php.ini file (I’m installing Magento 2 on Ubuntu 20.04). Can you advise?
Hi Peyton, you can run this command to find php.ini location
The result should be like this
Hi.
I installed Magento but I think there is some apache server configuration problem.
I hope you can help me with it.
In my /var/www/html folder i have 1 index.html(empty) file and the mywebsite.com folder.
If I remove the empty index.html file it just shows a directory with mywebsite.com and if i click that it shows all my files.
I am unable to access my admin and dashboard.
It would be very kind of you to help me, you can contact me through email.
Kind regards,
Ali Mansoor.
Yes, Composer 2 is not supported in Magento 2.4.2
the step sudo apt update is missing before installing elasticsearch. Otherwise it throws an error not found.
FYI
While Magento does not support Composer 2, using Composer 1 might cause other issues arising from this warning during installation:
Warning from https://repo.packagist.org: Support for Composer 1 is deprecated and some packages will not be available. You should upgrade to Composer 2. See https://blog.packagist.com/deprecating-composer-1-support/
Взрослый доступен через надежные и проверенные веб-сайты.
Изучите безопасные сайты для взрослых для получения качественного контента.
rdb3ej
3t4zqh
maevdz
wyio8s
Good post! We will be linking to this particularly great post on our site. Keep up the great writing
I like the efforts you have put in this, regards for all the great content.
beylikdüzünde korsan taksi hizmeti
4ilibg
iptv hollanda arayan kullanıcılar için hızlı cevap veren destek ekibi önemlidir.
Phim Sex – Tổng hợp phim sex Việt Nam – GaiDamVL
For the reason that the admin of this site is working, no uncertainty very quickly it will be renowned, due to its quality contents.
naturally like your web site however you need to take a look at the spelling on several of your posts. A number of them are rife with spelling problems and I find it very bothersome to tell the truth on the other hand I will surely come again again.
This Corded Curling Iron creates beautiful curls that last all day.
The best iptv satış experience depends on smooth playback quality.
w0g4v2
Beylikduzu Korsan Taksi
Esenyurt Korsan Taksi Her Zaman En İyisi
inazifnani online tips inazifnani online tips inazifnani website hosting online tips keyword research tools
https://emreodek.com/kurtkoy-emlakci-danismanligi/https://emreodek.com/kurtkoy-emlakci-danismanligi/https://emreodek.com/kurtkoy-emlakci-danismanligi/
Really appreciated this article — the guidance was clear and helpful.
I truly appreciate your technique of writing a blog. I added it to my bookmark site list and will
bu konuda bu kadar net bilgiler internette malesef yok bu yüzden çok iyi ve başarılı olmuş teşekkürler.
Gerçekten detaylı ve güzel anlatım olmuş, Elinize sağlık hocam.
I very delighted to find this internet site on bing, just what I was searching for as well saved to fav
Bu güzel bilgilendirmeler için teşekkür ederim.
Çok işime yaradı bende bunu nasıl yapacağımı araştırıyorum. Paylaşım için teşekkür ederim.
Very well presented. Every quote was awesome and thanks for sharing the content. Keep sharing and keep motivating others.
I just like the helpful information you provide in your articles
websitem için çok işime yaradı teşekkür ederim
Awesome! Its genuinely remarkable post, I have got much clear idea regarding from this post
Hocam detaylı bir anlatım olmuş eline sağlık
Bu güzel bilgilendirmeler için teşekkür ederim.
I truly appreciate your technique of writing a blog. I added it to my bookmark site list and will
homeimprovementfurniture home furniture home improvement furniture home furniture homeimprovementfurniture homefurniture home furniture furniture