From version 2.4, Magento 2 removed web wizard installation. Now users must install Magento 2 using the command interface.
The process is quite complicated and there are many required components for a susscessful installation. If you are new to Magento 2, this will be a painful task as there are a lot of prerequisites that need to be done before we run the install command.
For example: You need to install the required PHP version, enable required PHP modules, install Elasticsearch independently, search for the hosting providers that support Magento 2.4…
(For your reference, I already mentioned all the installation steps in this tutorial)
Since the release of Magento 2.4, many store owners are complaining about Magento 2 installation task. Some of them even gave up using Magento 2 and decided to choose other eCommerce platforms like Woocommerce, Shopify…
So today, I will write a very simple tutorial about installing Magento 2.4 in just ONE CLICK. Currently, there is only 1 Magento 2 hosting provider support this method, that is Cloudways.
Cloudways is one of the most reputed Magento 2 hosting providers that are specialized in eCommerce Web Application. Their engineers are experts in optimizing web applications like Magento 2, WordPress, Drupal… That’s why we have the One-Click Magento 2 installation feature integrated with the Cloudways dashboard.
Contents
Step 1: Create a free trial account on Cloudway
If you never try Cloudways hosting service before, you can go for their 3-day free trial program.
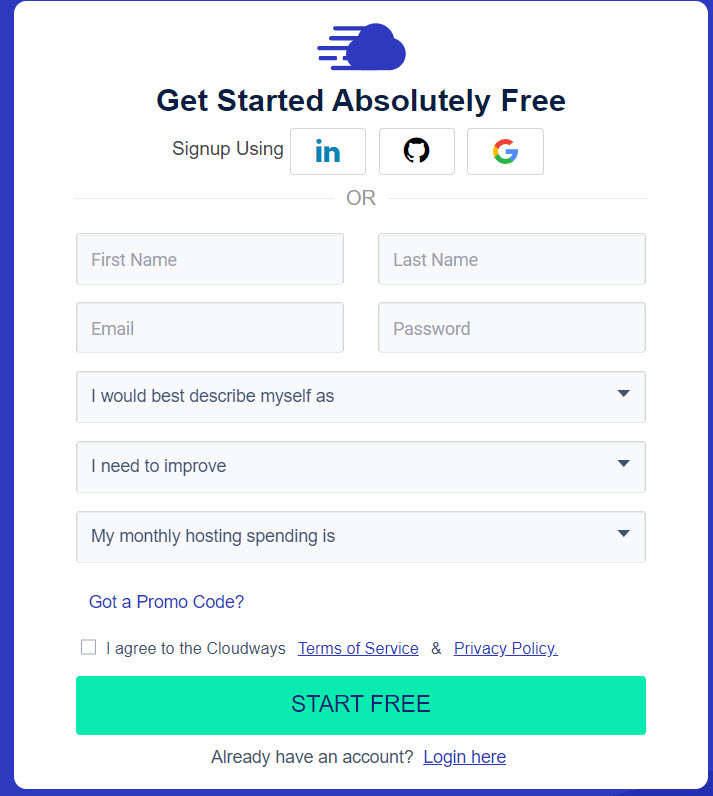
Go to: https://platform.cloudways.com/signup and sign up for a new account. Enter the required information and click on Start Free, finish all the verification steps and you will have a free trial account.
(note that on trial account, you can only launch a server upto 2GB RAM size)
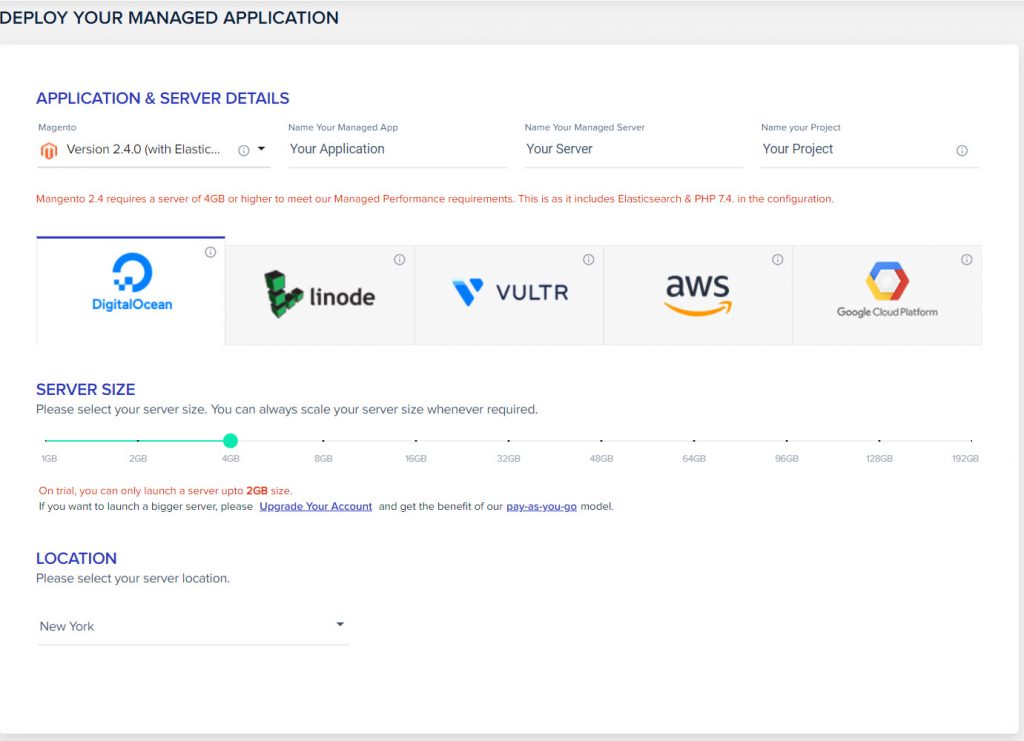
Next, go to https://platform.cloudways.com/server/create to create a new server and web application
In APPLICATION & SERVER DETAILS section, fill in the following details:
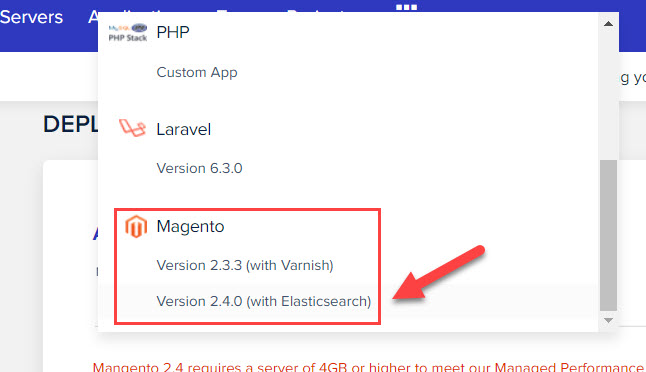
- Select Magento 2.4.0 (With Elasticsearch) (or if you are using trial account, select Magento 2.3.3)
- The other fields
Name your Managed App,Name your Managed server,Name your Projectjust enter any name for easy identification when you run multiple servers at the same time on your Cloudways accound.
Step 2: Choose cloud server to deploy Magento 2
Next, select Cloud hosting providers from the list. Cloudways does not host their own datacenter, instead, they partner with big names like DigitalOcean, Vultr, AWS, Google. Cloudways just focus on their managed job.
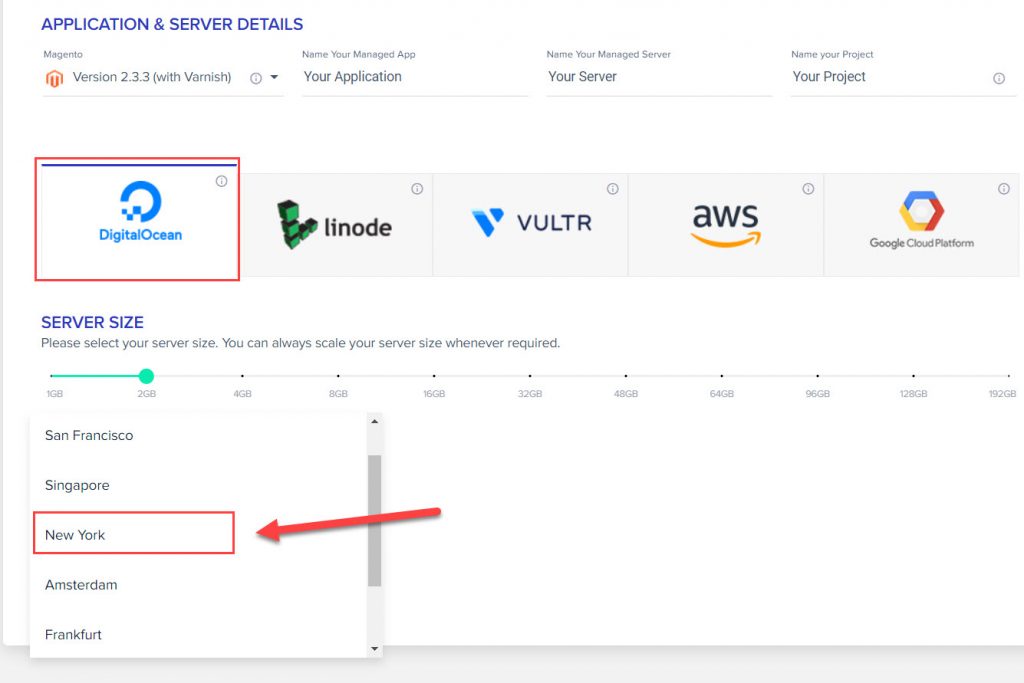
Each provider has its own price, select the provider, and choose server location.
Note: Aws and Google Cloud Platform only available on upgraded account
Step 3: Access Magento 2 website
Click on Launch now to start deploying your server and Magento 2.
Now, wait a some minutes for server deployment and Magento 2 installation process
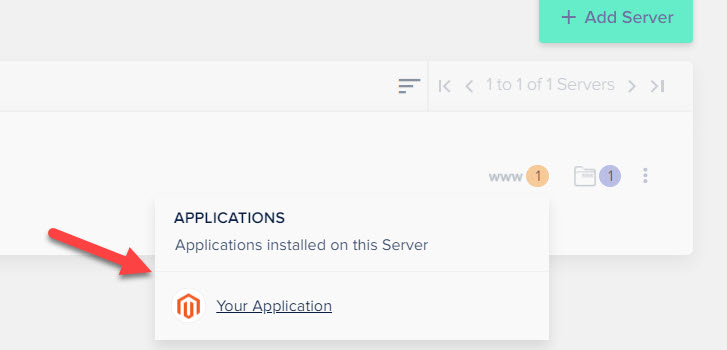
After finishing installation, click on WWW and select Magento to access website information
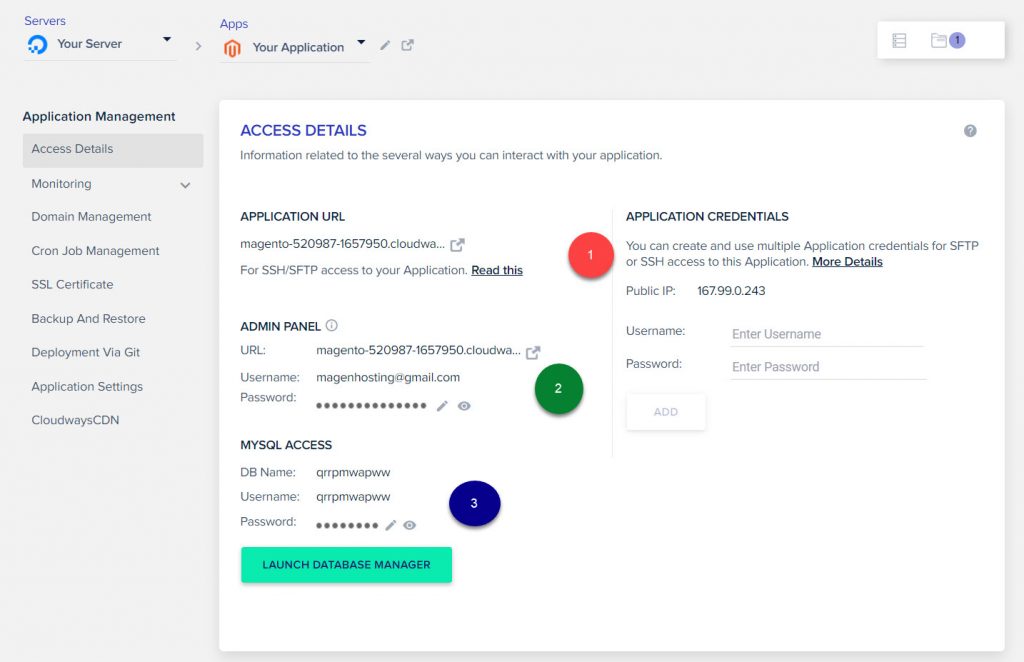
On this page, you will be provided with website access detail
1) Application URL: URL to access your new Magento 2 website
In this example, it is http://magento-520987-1657950.cloudwaysapps.com/
2) Url to access Admin: http://magento-520987-1657950.cloudwaysapps.com/admin/
3) MySQL access detail, you can change password easily here
There you go, with just a few clicks we have a complete working Magento 2 website
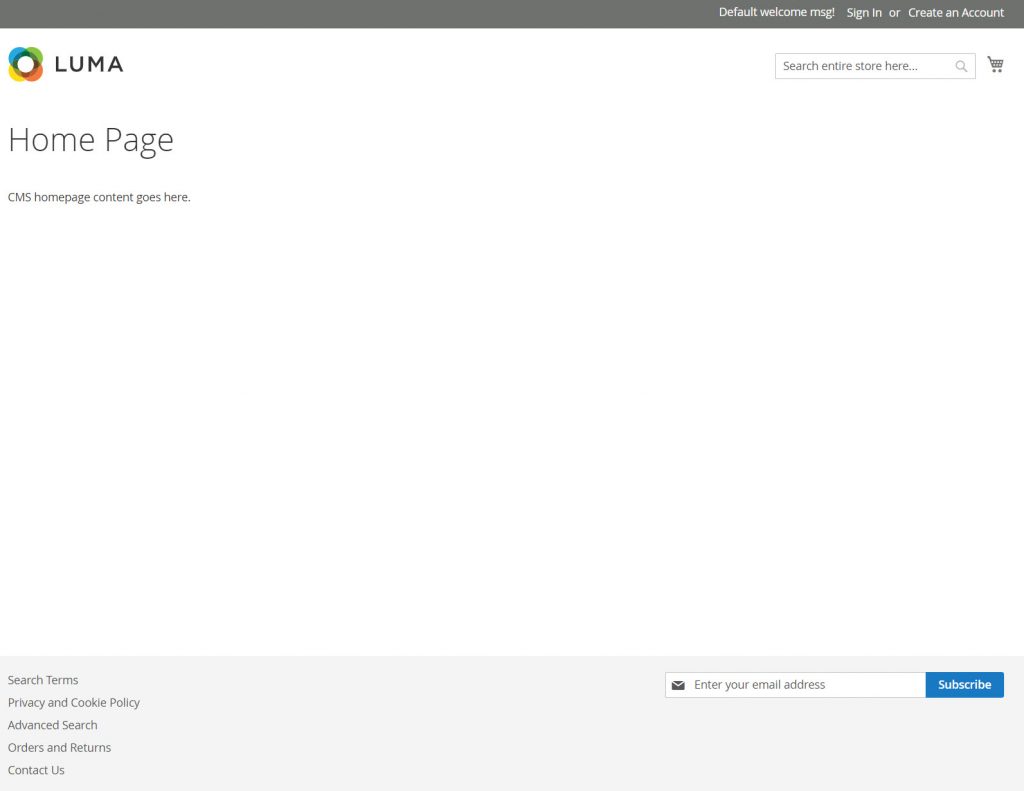
Here is your New Magento 2 website frontend
Wrapping up
This is a good solution for users who don’t want to go through all the complicated installation steps of Magento 2. You will have a ready-to-use website in just 5 minutes.
Please drop a comment below if you can find any other hosting provider that supports 1 click Magento 2 installation.

