
Logo is one of the main factors that help customers identify and remember your brand. Thus, all the famous brands in the world own impressive and unique logos that play an important role in promoting and developing product images.
Related tutorial: Changing Magento 2 base URL
After installing Magento 2, the first thing you should do with your store is changing the default Logo. The default logo of Magento 2 is LUMA. We will replace this logo with our logo.
![]()
In this tutorial, we will go through step by step how to change logo for a Magento 2 website, including changing storefront logo and email & invoice logo.
Contents
Method 1: Change Magento 2 logo via backend
We can change Magento 2 logo via backend, follow these steps.
Step 1
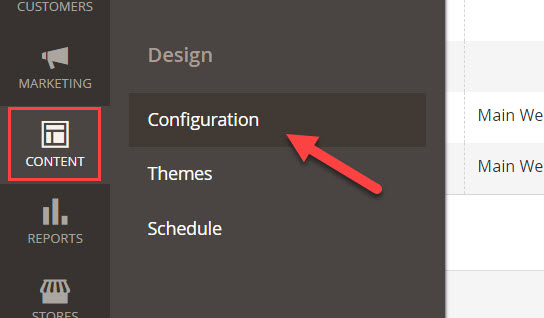
In your Magento 2 backend, go to Store > Design > Configuration
 Step 2
 Step 2
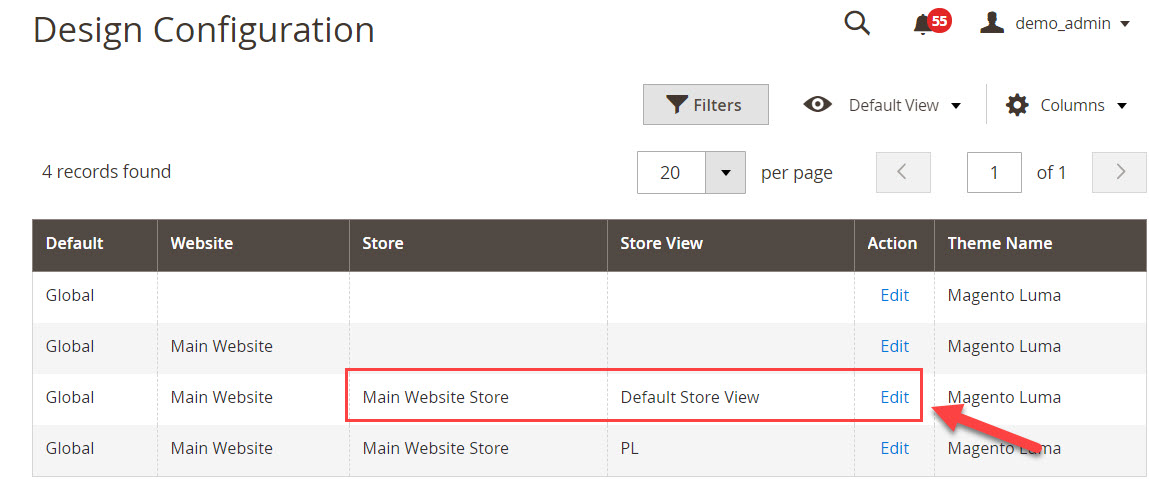
Find the storeview you want to change logo, if its front store then go to Default Store View and click on Edit.
Step 3
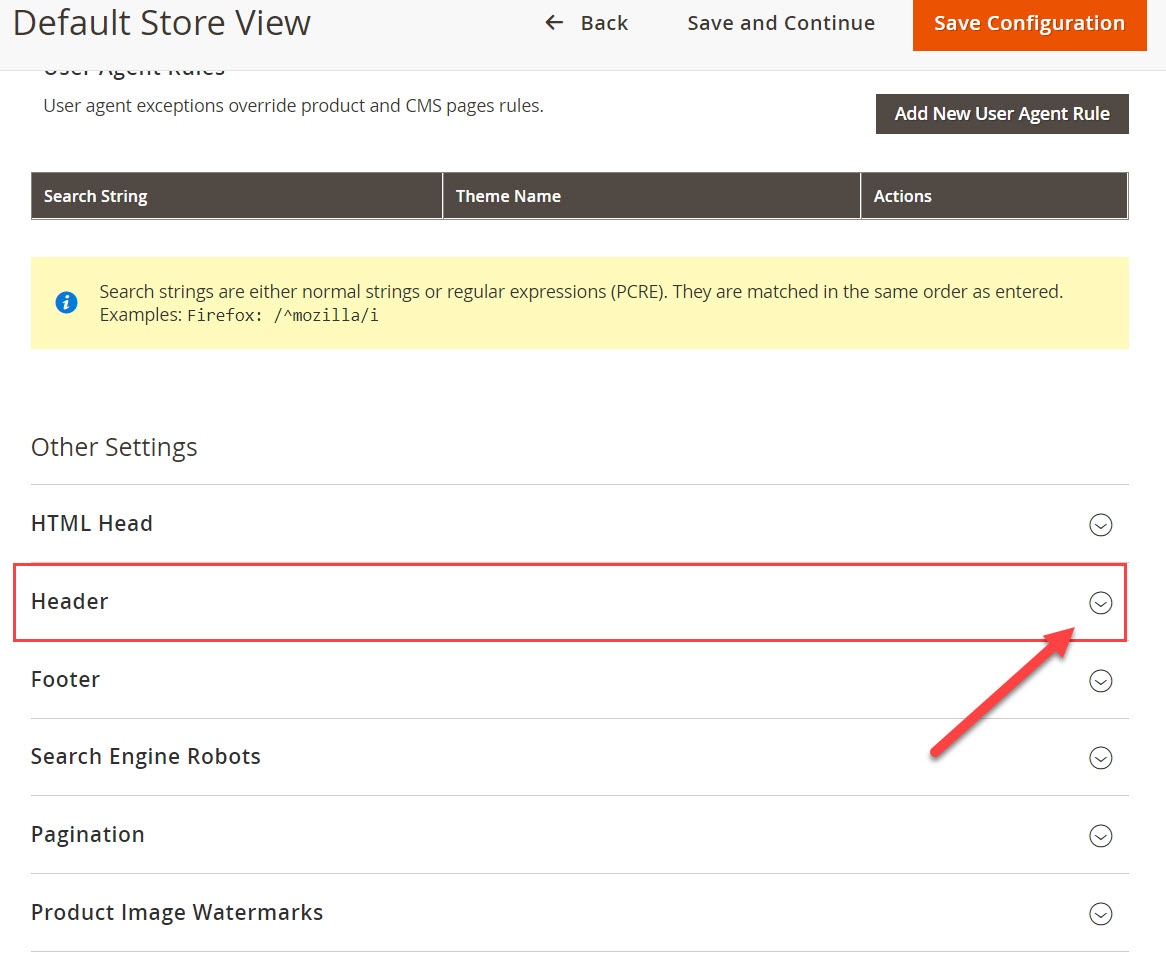
In this page, you will find several design settings, scroll down and look for Header configuration, click on expand button
 Step 4
 Step 4
Now, we will upload logo to replace the default logo
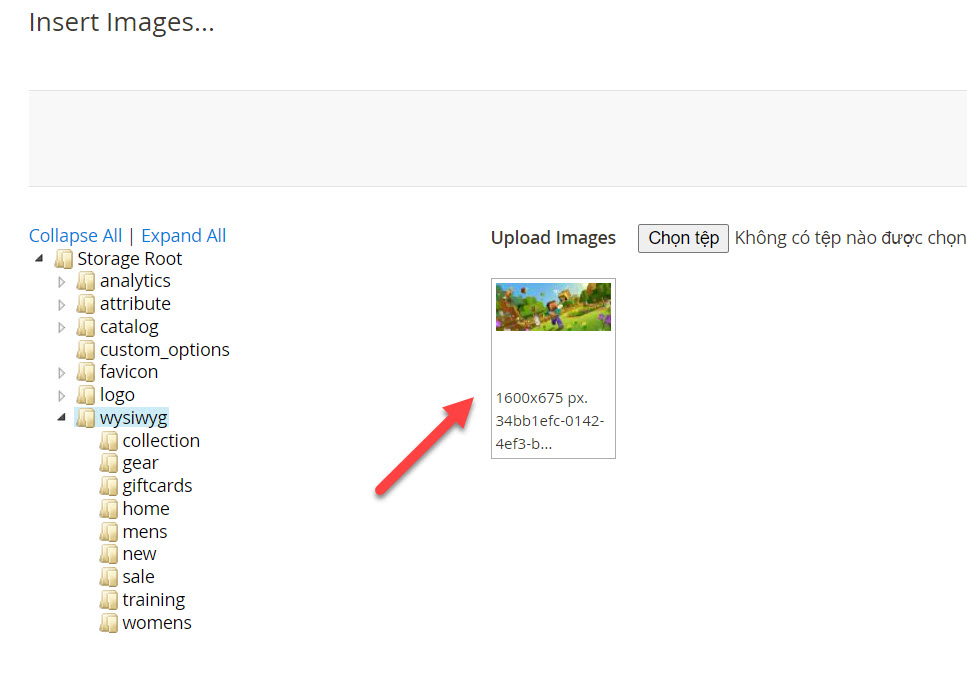
![]() Now we have 2 options:
Now we have 2 options:
- Upload to upload new logo from your computer
- Select form gallery to select an uploaded image from gallery, if you choose this option, navigate to the path of the logo image
Note: there are some requirements for logo image
- First, the image must be in JPG or PNG
- Second, the image filesize should not exceed 2mb (we can change this value in PHP setting).
You can also set Logo Width and Logo Height here, these values will replace the default value of your uploaded image.
![]()
When you are done, click on Save button to finish changing store front’s logo
Step 5
Flush cache and refresh your website, now the default logo is replaced by the newly uploaded logo
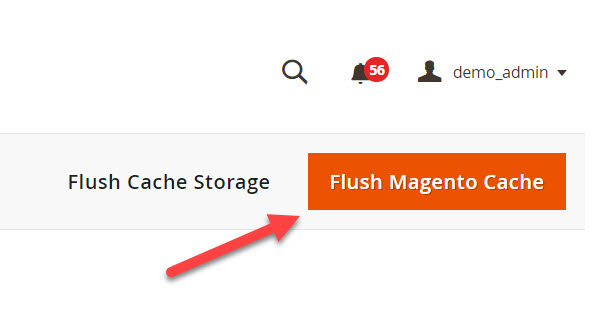
You can flush cache by navigating to System > Tool > Cache management
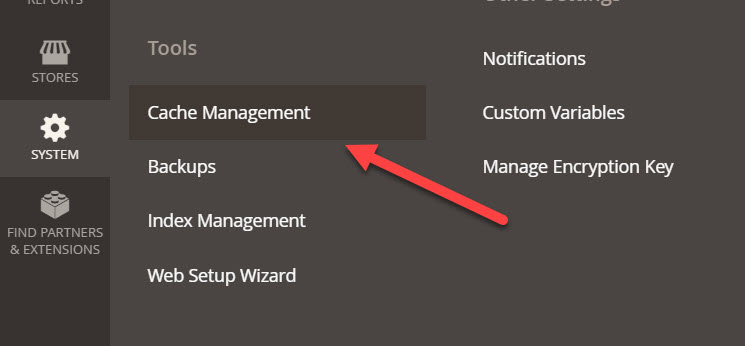
Click on Flush Magento Cache button on this page
Finally result after refreshing website.
![]()
Method 2: Change Magento 2 using file manager (support SVG image file)
Using this method, you can only change the default logo to a new SVG logo because we will replace the default svg image file of Magento.
The advantage of this method is that you can use SVG image as your logo, which is not allowed in method 1.
Step 1: Find logo file path
Right click on logo and use browser’s inspect tool to find path to logo file.
For example, in Magento 2.4, the default theme’s logo path is /frontend/Magento/luma/pl_PL/images/logo.svg
![]()
Step 2: Upload new logo
Now open file manager of your hosting and upload a new file with the same name logo.svg to replace the old logo file
Finally, flush cache and refresh website to apply changes
Method 3: Change magento 2 logo programatically
With this method, you can change Magento 2 logo to all supported file types: SVG, JPG & PNG.
Open file manager and go to \app\design\frontend\Magento\luma\Magento_Theme\layout\default.xml
Next, insert the following code to this file
<?xml version="1.0"?>
<page xmlns:xsi="http://www.w3.org/2001/XMLSchema-instance" xsi:noNamespaceSchemaLocation="urn:magento:framework:View/Layout/etc/page_configuration.xsd">
    <body>
        <referenceBlock name="logo">
            <action method="setLogoFile">
                <argument name="logo_file" xsi:type="string">
                    images/yournewlogo.png
                </argument>
            </action>
        </referenceBlock>
        <referenceBlock name="logo" remove="true" />
    </body>
</page>
Replace: images/yournewlogo.png with your desired file path and file name
For example, you want to set magentip.svg as new logo file => the code you use should be
<argument name="logo_file" xsi:type="string"> images/magentip.svg </argument>
Finally, flush cache and save change to apply new logo
Change invoice logo in Magento 2
In backend, you can also change invoice logo, this option locates at another configuration section.
In admin section, go to Store > Configuration
![]()
On the right menu, select Sales and click on Invoice and Packing Slip design
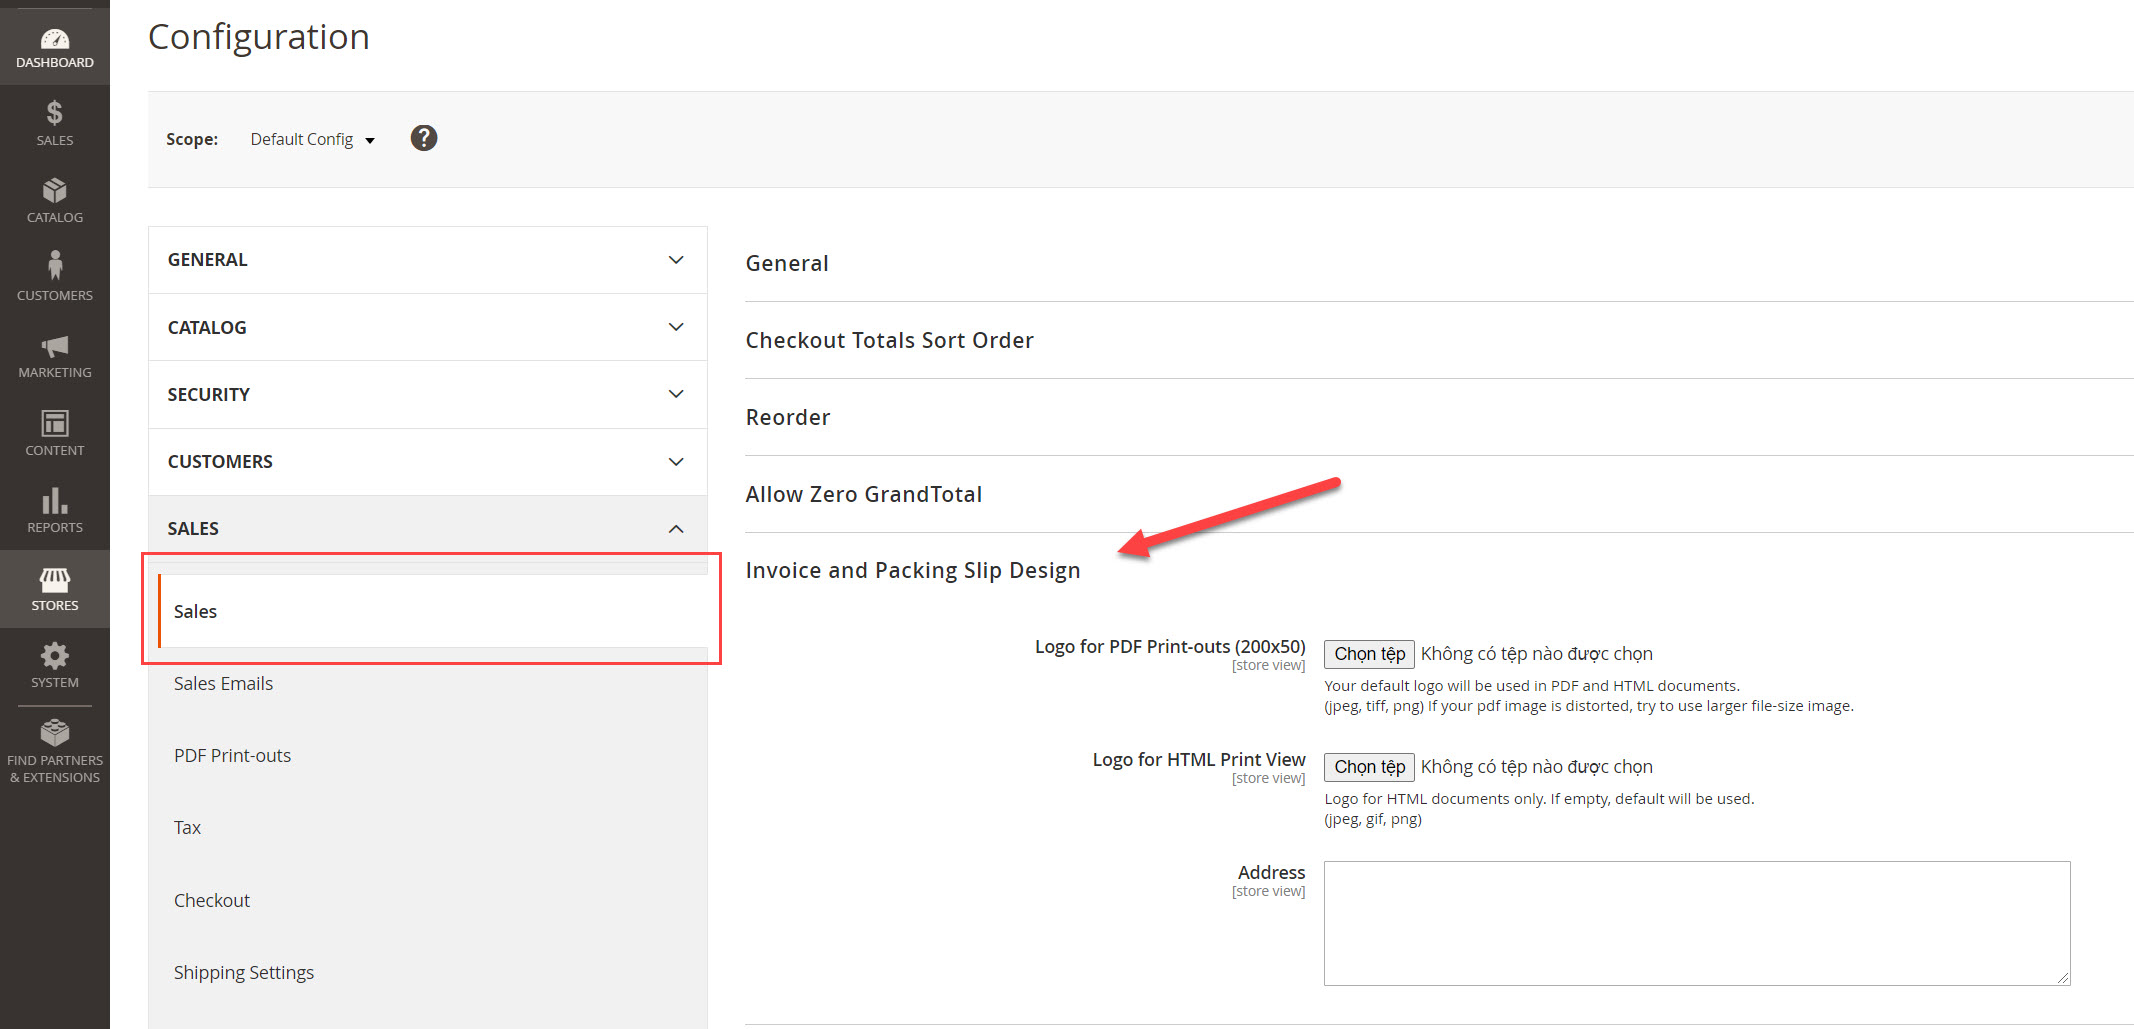
Next, upload a logo for Logo for PDF Print-outs (200×50) and Logo for HTML Print View, the allowed formats are: Jpg, tiff, png.
Finally save changes and flush cache to apply new invoice logo
![]()
Change transaction email logo in Magento 2
Now we will go through the process of changing transaction email logo in Magento 2
In admin, go to Content > Configuration > Edit the storeview you want to change email logo (just like changing storefront logo)
Next, expand the Transaction email section 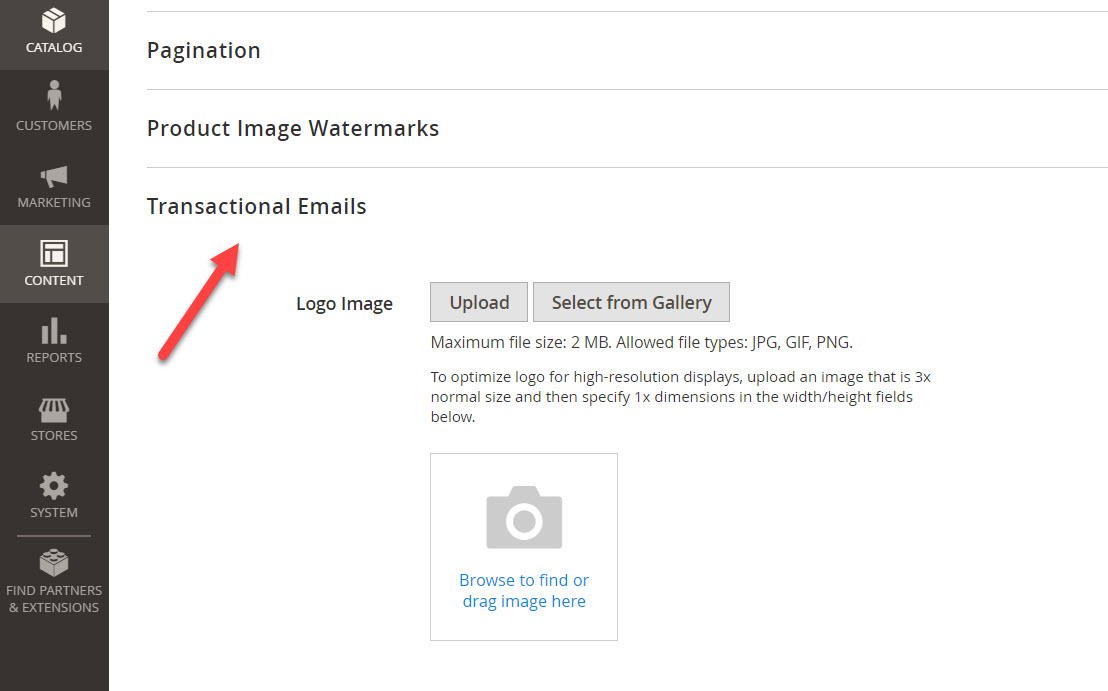
Now you can change transaction email logo, the result will be like this after you flush cache
![]()
Conclusion
Depend on your requirements, there are many other ways to changes logo of Magento 2.
If you are a developer or theme provider, you may also want to add a button to allow uploading SVG image file to use as site’s logo. I will write about this in the next tutorial
Have any question about changing Logo in Magento 2? Drop a line below and I try my best to help you out.
 with Elasticsearch")
")

9 Comments
Как создание сайтов для медицинской ниши учитывает юридические требования?
Как seo оптимизация и продвижение сайтов совместимы с performance-маркетингом?
Как контролировать ход работ, если заказал seo под ключ у агентства?
Seo продвижение молодого сайта в конкурентной нише — реально ли?
Как seo оптимизация сайта работает для мультиязычных проектов?
Как выстроить внутреннюю перелинковку, когда ведётся SEO продвижение молодого сайта?
Как понять, что агентство предлагает настоящее SEO продвижение под ключ, а не формальный пакет?
Как продвижение сайта в поисковых системах меняется после апдейтов алгоритмов?
Как seo оптимизация сайта влияет на позиции в мобильной выдаче?